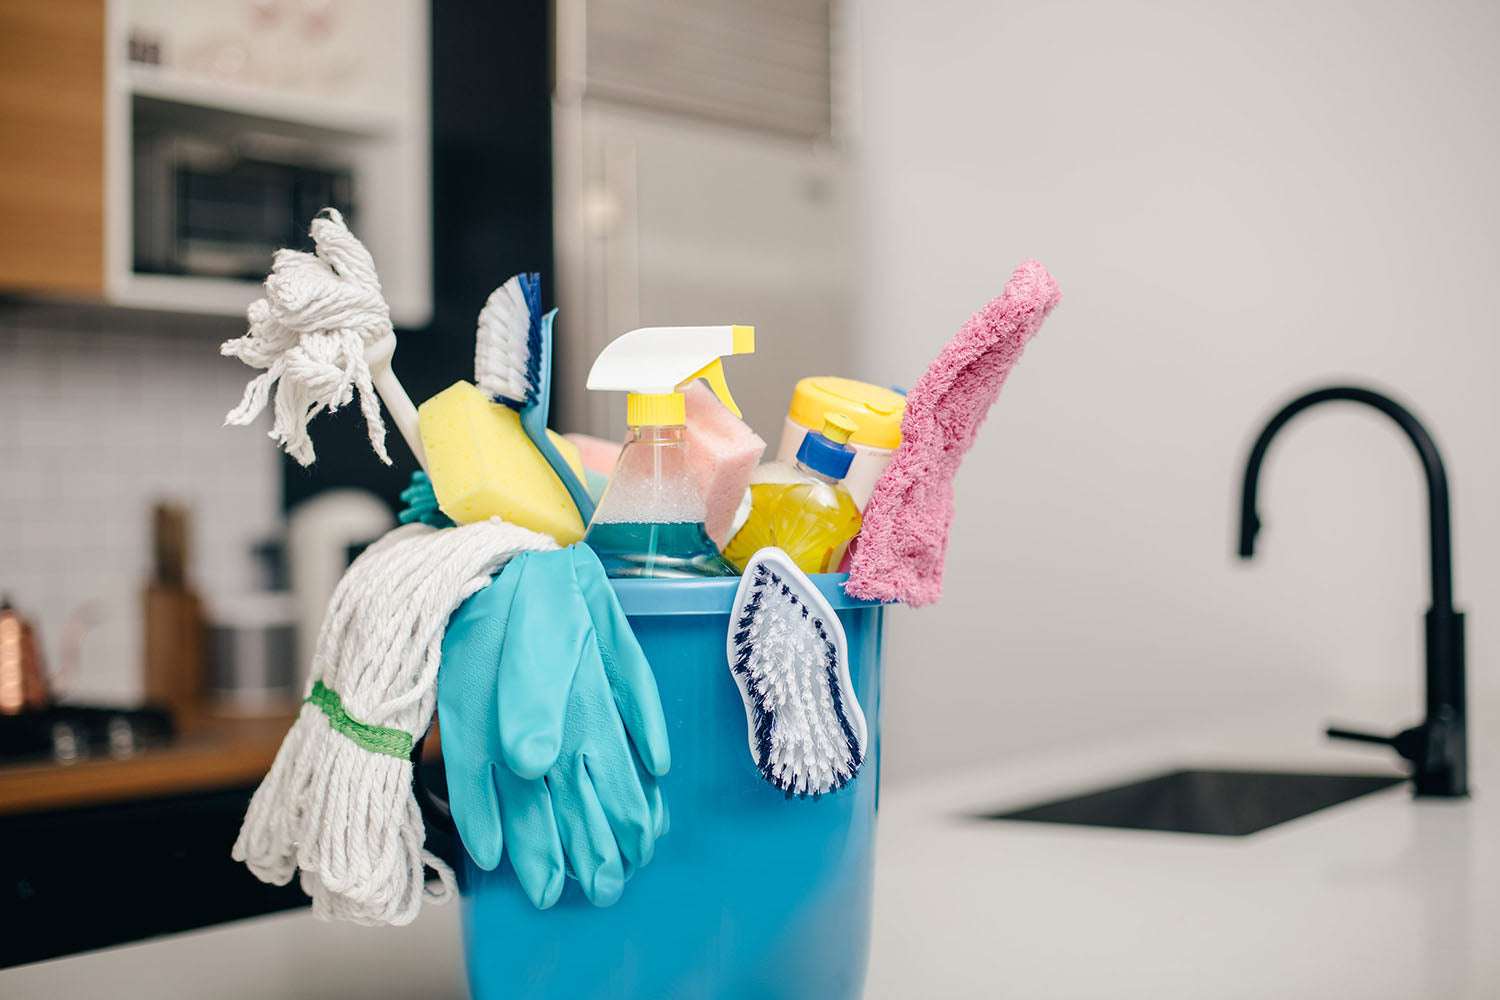
Spring is the perfect time to refresh your home, declutter your space and tackle the deep cleaning tasks you’ve been postponing. Spring cleaning your household appliances can help restore your home’s freshness and optimize their overall efficiency.
So, we have created the ultimate spring-cleaning guide to help you hit the reset button and revitalize your living space. Simply follow our step-by-step instructions and helpful tips to enjoy an easy, stress-free cleaning process.
We recommend that you also check your manufacturer’s guide and product details to ensure you understand what maintenance care your appliance’s needs.
For Washing Machines-
1. Run a “Self-Clean” cycle-
Generally, most newer washing machines feature a “Self-Clean” or “Maintenance” cycle to enable easy cleaning. If your appliance doesn’t feature this function, then you can use a specialised cleaner to remove any bacteria and mould.
2. Check and clean the filter-
Some machines feature a filter which will require regular cleaning. Make sure to remove any lint, coins or other debris.
3. Clean the door seal-
Mould and grime can build up around the rubber door seal of the machine. Simply wipe the seal down with a cloth dampened with a mixture of water and vinegar (if applicable) or a gentle detergent.

For Tumble Dryers-
1. Clean the Lint filter-
Lint can be a fire hazard, so we recommend that you clean the lint filter at the end of every load to protect you and your home.
2. Check the Drum-
You can wipe the inside of the drum with a damp cloth to remove any debris or residue.
3. Vacuum the vent-
Cleaning out the vent and exhaust hose can help improve efficiency. Simply use a vacuum hose attachment to remove any lint that may be trapped inside.

For Fridge Freezers-
1. Empty and clean-
Empty your fridge and freezer compartments and remove any old foods. Using warm water, you can clean the interior to eliminate any odours and stains.
2. Defrost (if needed)-
If you have a manual defrost freezer, you will want to make sure that it is defrosted properly to achieve the ultimate efficiency. So, we advise that you check for any ice build-up in the freezer compartment.
Firstly, remove any stored goods and place them in a separate cooler to keep them cold. You can simply leave the freezer door open to let the ice thaw naturally, however, this could take a few hours if there is a large amount of ice present. If you would like to speed up the process, you can place a bowl of hot water inside the freezer and close the door. The steam will then help evaporate the ice so you can then wipe down the interior with warm, soapy water and dry the compartment thoroughly.
3. Clean the coils-
Dust and dirt can build up on the condenser coils which will reduce energy efficiency. You can use a coil brush to clean them, and we recommend doing this at least twice a year.

For Ovens-
1. Self-Cleaning function-
If your oven features a self-cleaning function, you can use it to burn off any grease and food splatters inside the oven cavity. Remember to remove the racks before starting the cycle.
2. Manual cleaning-
For manual cleaning, we recommend that you use a non-toxic oven cleaner to protect your oven’s cavity. Simply apply the mixture to the inside of the oven, leave it overnight, and then wipe it clean the following day.
3. Clean the racks-
You can soak the oven racks in hot, soapy water and scrub them with a brush or sponge to remove any grease and baked-on food.

For Hobs (Cooktop)-
1. Clean Regularly-
For gas or electric stoves, simply wipe the surface regularly with a damp cloth to remove any spills. For glass-top stoves, you can use a glass cleaner or a specialized cooktop cleaner for spotless results.
2. Remove Burner Grates and Drip pans-
For gas stoves, you can remove the burner grates and drip pans, and clean them in hot, soapy water. And for electric stoves, you can detach and wipe down the heating elements or coils.

For Dishwashers-
1. Clean the filter-
The filter in your dishwasher can get clogged with food debris, so it is important to remove and clean it regularly to help maintain great performance.
2. Run a cleaning cycle-
You can run an empty cycle using a dishwasher cleaner to clean the interior, eliminate grease and remove any odours.
3. Clean the Spray Arms-
The spray arms in a dishwasher can get clogged with food particles. You should clean out any holes to help keep your appliance running smoothly.

For Vacuum Cleaners-
1. Empty the dust bin-
Make sure to empty the vacuum cleaner’s dust bin after every use to maintain an exceptional performance.
2. Clean or replace filters-
Many vacuums are equipped with filters that can capture dirt and allergens, so it is important to clean them regularly. Some filters are washable whereas others may need to be replaced. We advise that you check your product’s manual to ensure you understand what steps your filters require.
3. Clean the hose-
You can disconnect the vacuum’s hose and check for any debris or blockages. By using a long, flexible brush, you can clear any obstructions which could affect your vacuum cleaner’s performance.
4. Clean the brush roll-
When cleaning, hair, string and other debris may accumulate on the brush roll. Carefully remove any build up and wipe the brush down with a damp cloth.
5. Clean the wheels-
Dirt and hair can get trapped in the wheels, so make sure you wipe them down to ensure smooth operation.
6. Clean the belt-
The vacuum’s belt should be tight and in good condition. We recommend that you replace the belt if it has become frayed or damaged to prevent the vacuum from losing suction.

For Steam Mops-
1. Descale the mop-
We advise that you check your model’s guide to ensure you follow the right descaling steps for your steam mop.
2. Clean the steam mop head-
After each use, simply clean the mop pad to remove any built-up dirt and grime. Most microfibre pads can be placed in the washing machine for easy cleaning.
3. Check the water tank-
It is important to empty the water tank after each use for excellent efficiency. You can wipe the tank dry to prevent any mould and bacteria build up.
4. Check the nozzle and steam settings-
Make sure the nozzle is clear, and the steam is flowing steadily.

For Carpet Cleaners-
1. Empty the water tank-
After each use, you should empty and rinse the water tank to avoid any mould and odours from forming.
2. Clean the solution tank-
We recommend that you rinse the solution tank periodically to prevent the build-up of detergent residue.
3. Descale-
Similar to steam mops, carpet cleaners can accumulate hard-water minerals. We advise that you check your model’s guide to find the ideal solution to use so you can descale the internal parts of the machine.
4. Clean the brushes and rollers-
Remove any hair or debris tangled around the brush rolls, then clean the brushes with a damp cloth.
5. Replace the filters-
Many carpet cleaners feature filters which need to be replaced periodically. Be sure to check the manufacturer’s guidelines and replace them when necessary.
6. Clean the hose -
Make sure you check the hoses for any blockages or clogs, particularly after heavy use.

For Robotic Cleaners-
1. Clean the brushes-
You can easily remove hair and debris from the main and side brushes by using a cloth.
2. Wipe the sensors and cameras-
Simply use a microfiber cloth to clean sensors and cameras for efficient operation.
3. Empty and clean dust bin-
Be sure to empty the dust bin and wash it (if applicable) after each use.
4. Clean or replace the filter-
You can shake out any dirt and wash the filter if applicable. If your cleaner does not offer a washable filter, you will need to replace it if it has been damaged.
5. Clean the wheels-
We advise that you remove any dirt or hair from the cleaner’s wheels to ensure smooth movement.
6. Clean charging contacts-
It is important to wipe the charging contacts with a dry cloth to enable efficient charging.
7. Update software-
Check for any firmware updates required through the manufacturer’s app.

By completing a thorough clean, you can improve your appliance’s performance and create a cleaner home environment. A little care and attention now can make a huge difference in your appliance’s performance throughout the year.


